Power Automate, previously known as Microsoft Flow, is a powerful tool designed to automate repetitive tasks and processes. It allows users to set up flows that carry out certain actions based on predefined triggers. The power automate also provides a solution to such type of conversion by creating flows. In this article, we will learn how to create power automate flows to convert word to pdf.
Contents
Setup Power Automate Flow to Convert Word to PDF
Now we will proceed with the steps to create a flow in power automate to convert word to pdf.
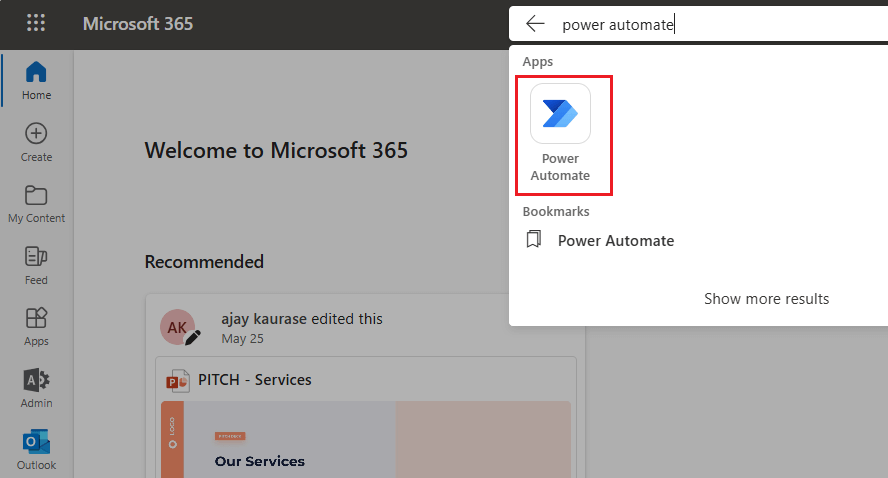
- Login to office.com and search for power automate and open the application.
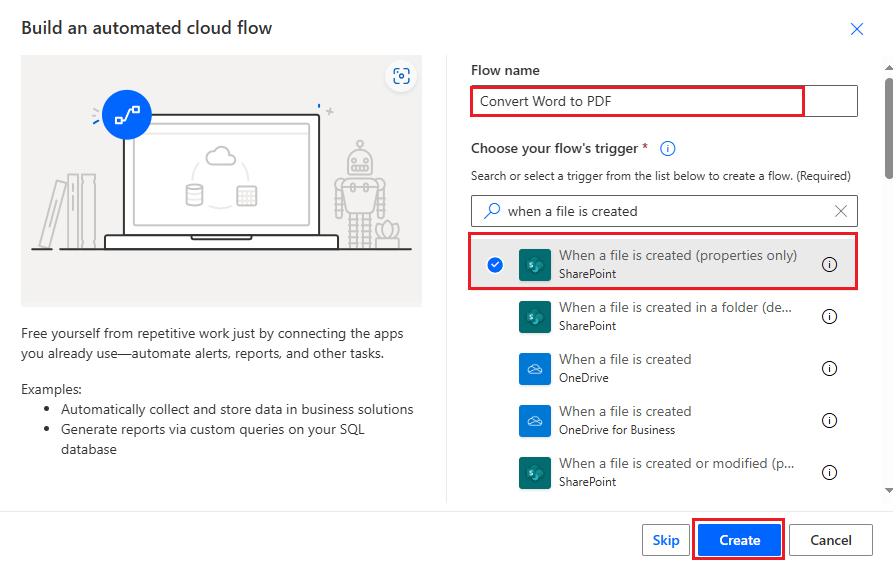
- In power automate, click on the create button and then create Automated cloud flow.

When a File is Created (Properties Only) for Convert Word to PDF
- Type the flow name, in the flow trigger search for SharePoint and choose trigger “when a file is created (properties only)” and click on the create button.
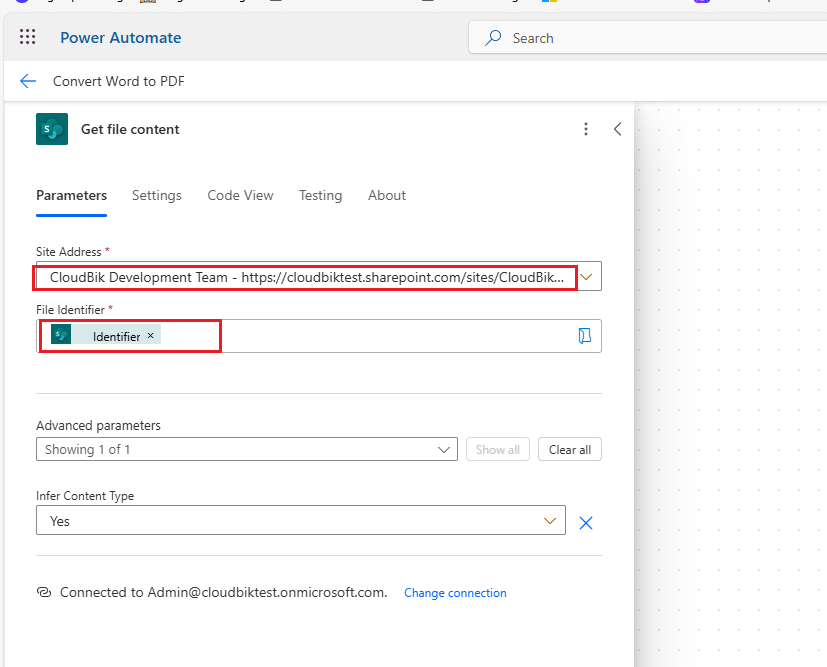
Get file Content
- Click on the + Search and click on the Get file content.
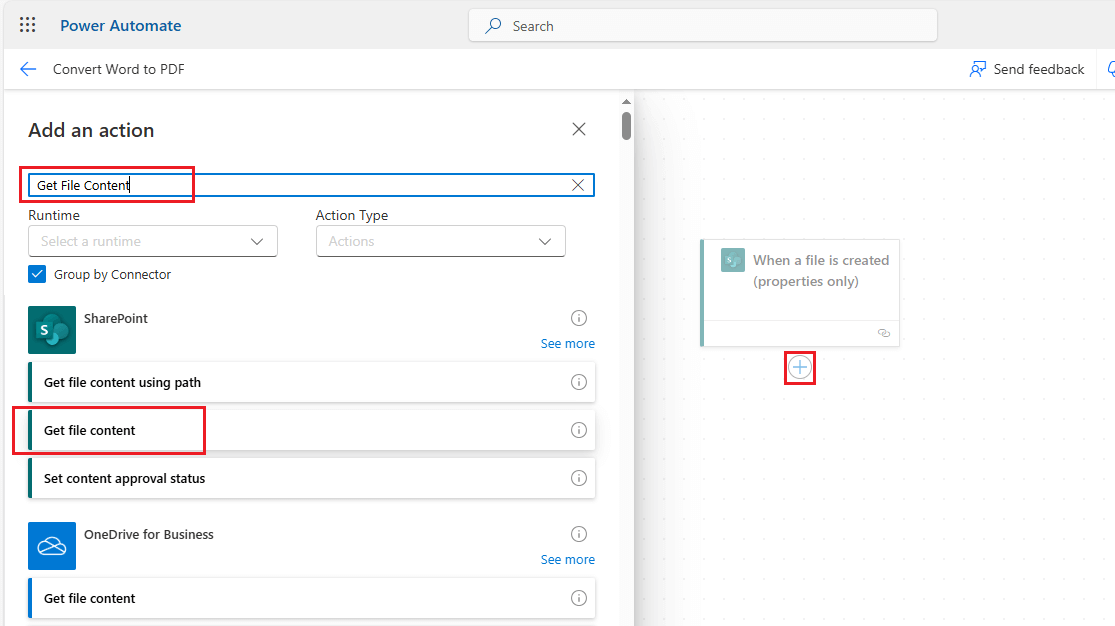
- In the site address, choose your site address. In file identifier, choose identifier.
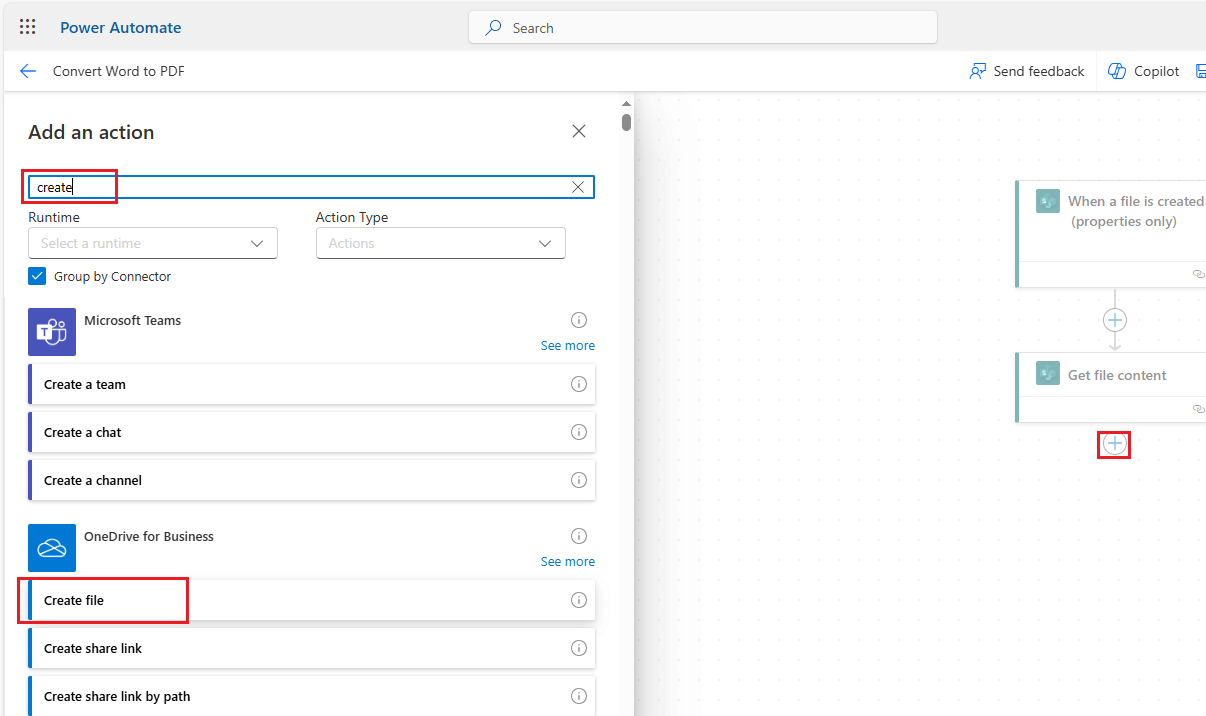
Create File in OneDrive
- Click on the + icon and then choose Create file.
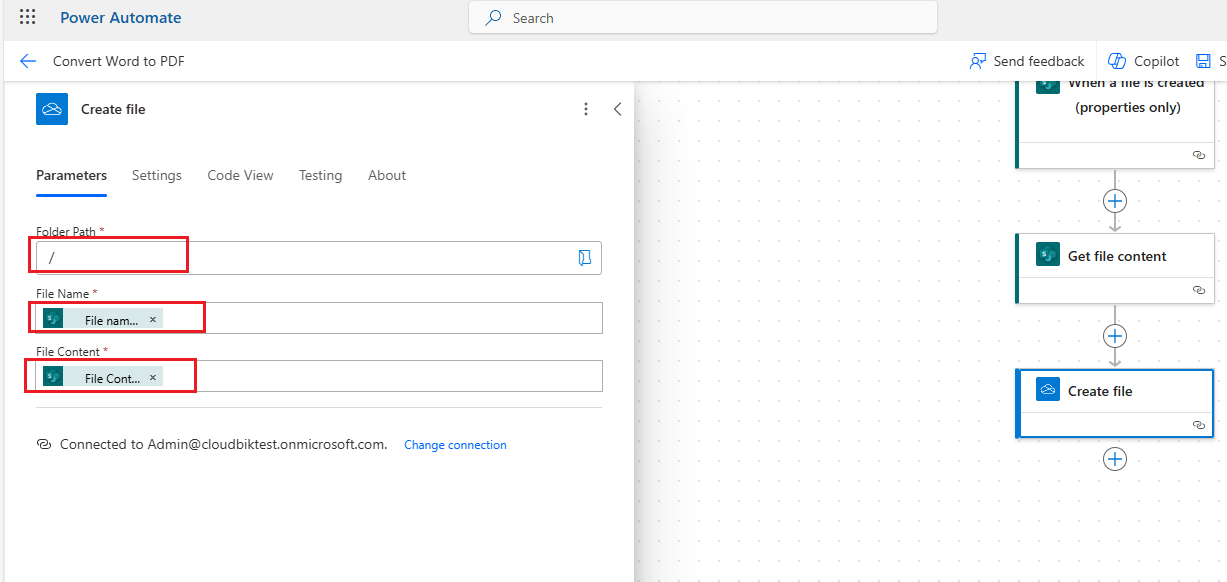
- In the folder path, choose root path or any folder. In the file name, choose file name with extension. In the File Content, choose file content.
Convert Word to PDF
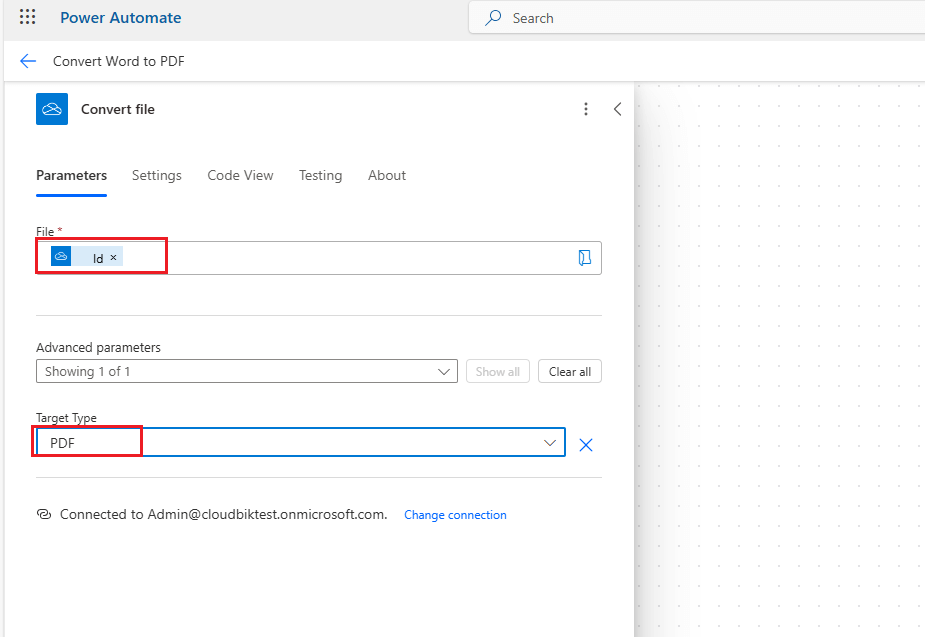
- Click on the + icon, search and choose Convert File (Preview).
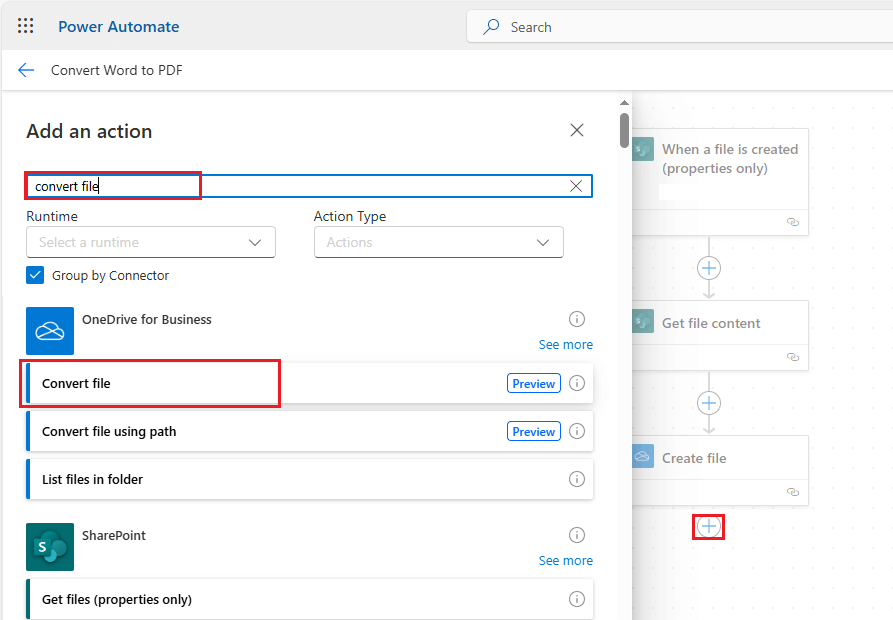
- In the file, choose Id and in the target type, choose Pdf.
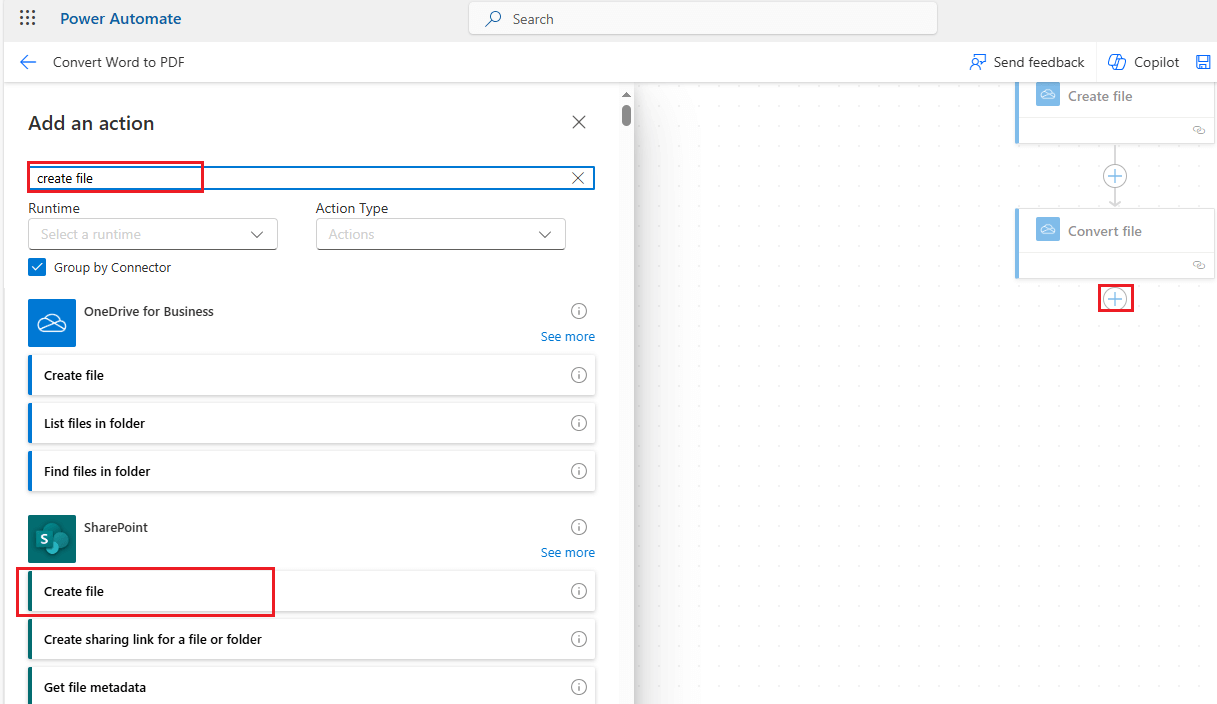
- Click on the +, search and click on Create file under SharePoint.
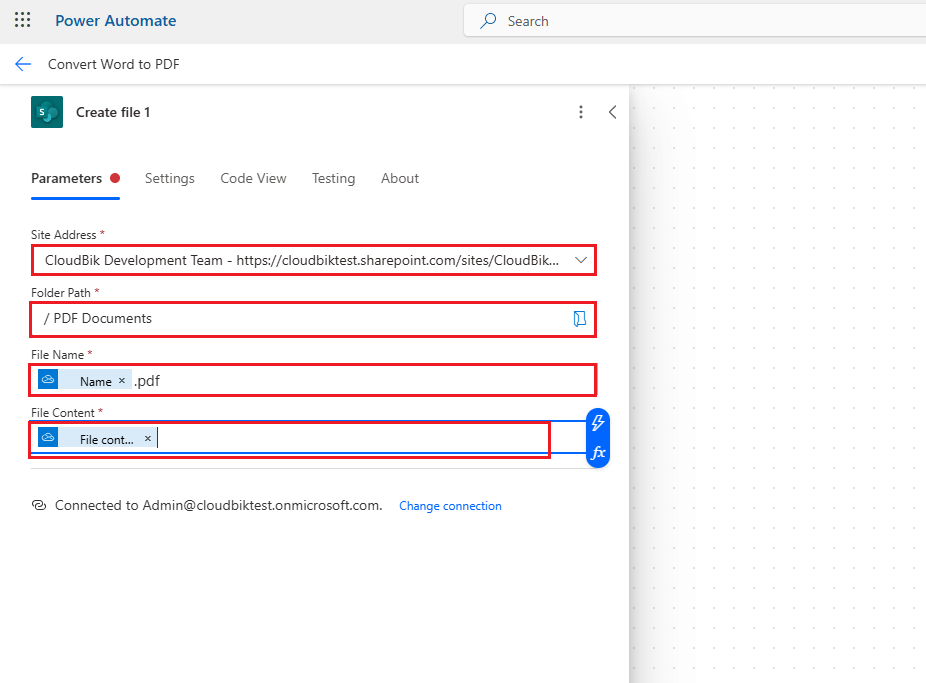
- Choose Site Address, Folder Path. In the File name choose Name and add.pdf. In the file content choose file content from the dynamic list.
Delete the Temporary File
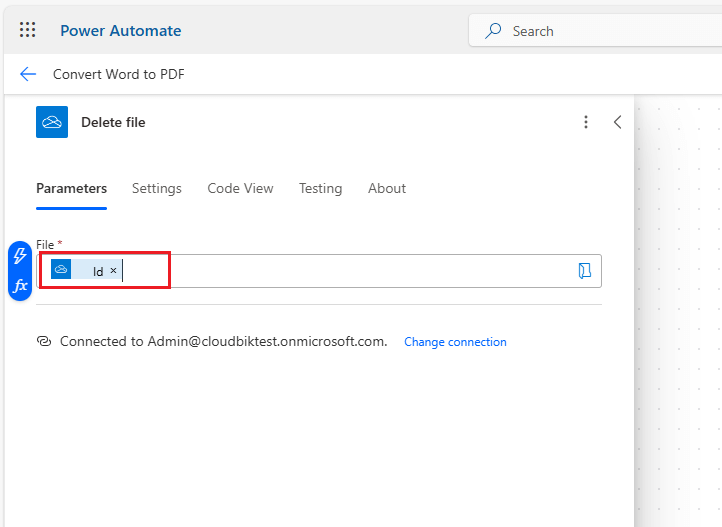
- Click on + icon and search and choose delete file.
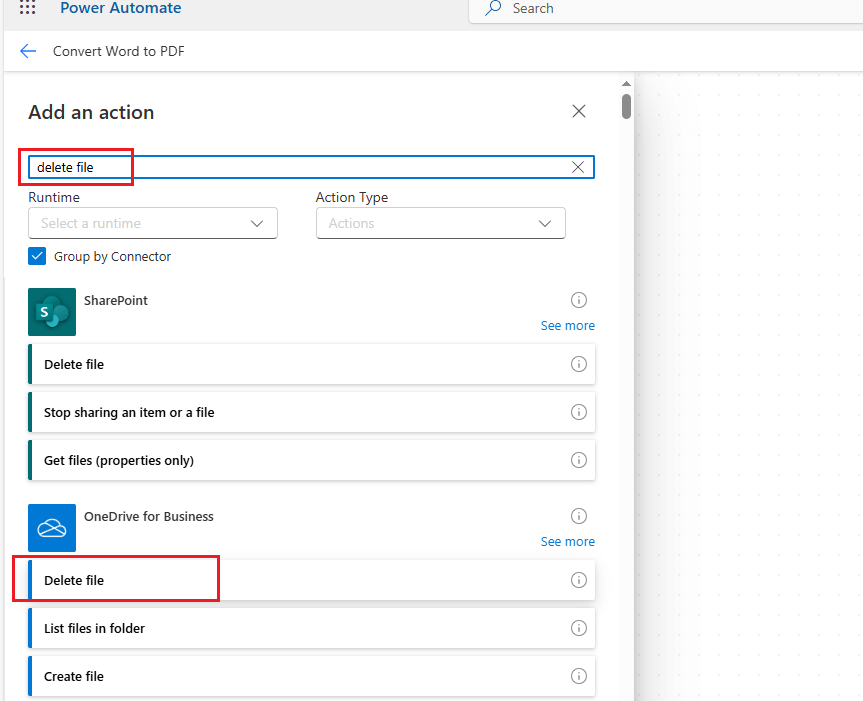
- In the file identifier, choose Id.
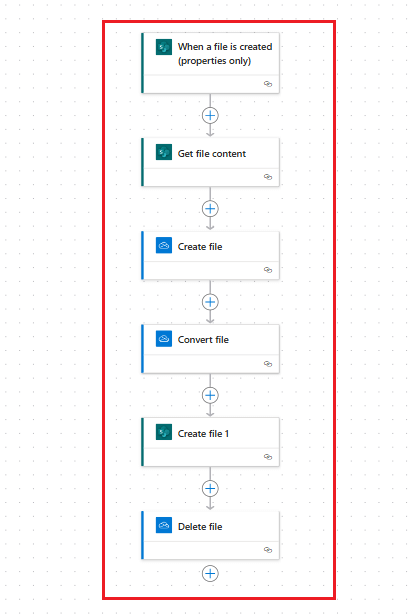
When you have created the flow, save it. Flow will look like the image below.
Run the Flow
Now create a file in the documents library in the SharePoint and you will see the flow will run and save the pdf file in the desired location. With this flow, you can easily convert Word to PDF.
Conclusion:
In this article we have discussed, how to create Power Automate flow to convert word file to pdf. All you need to follow this guide, and you will easily make flow to convert word documents to pdf files. If you have any queries or suggestion, feel free to comment down.

